Photo frames don’t have to be boring. Do you know there are many ways to DIY these plain photo frames into something much more fancy? Let me show you just how to achieve that in this blogpost!
What I will be focusing on is the DIY Lightbox picture frame that requires little or no effort at all. All you need are some Fairy Lights (you can get these online at a really affordable price or find them at shops like TYPO/Daiso), an Ikea Box Frame, some tape and picture of your choice! It can be anything from quotes to family pictures, it’s really up to you!

It’s pretty easy to complete:
- Start by separating the frame from the glass and the backing.

- Start from the end of the lights, run the string around the inside of the frame, securing with tape around the corners. Once you have attached all of the string, go back around, securing any loose areas with more tape.

- Place your picture into the photo frame and put your frame back together with the glass. Here I printed a Large Square and pasted it on a white piece of paper.

- If you noticed, one of the backing corners is cut off, so you can thread the battery pack through the gap when you secure the backing. Tuck it behind your frame and turn on your new lit up display!


As simple as that!
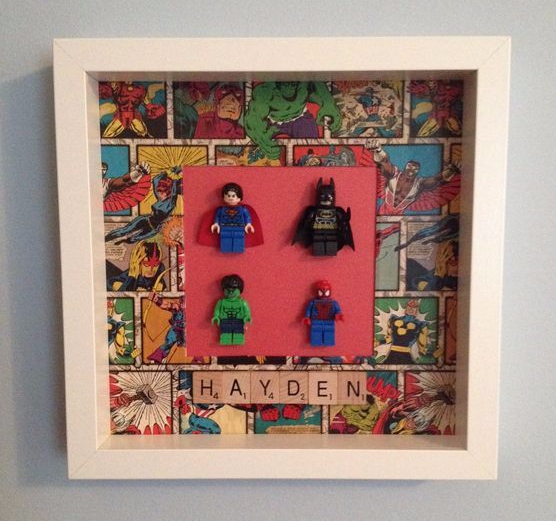
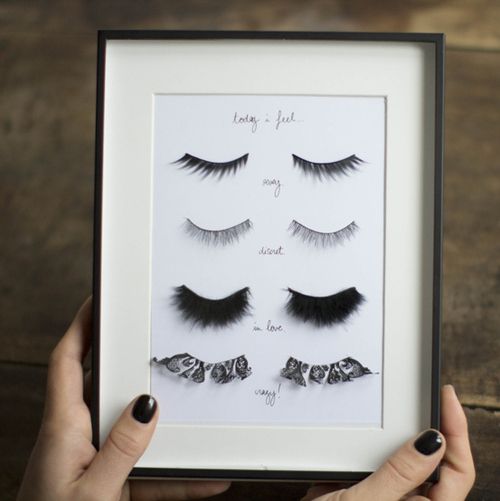
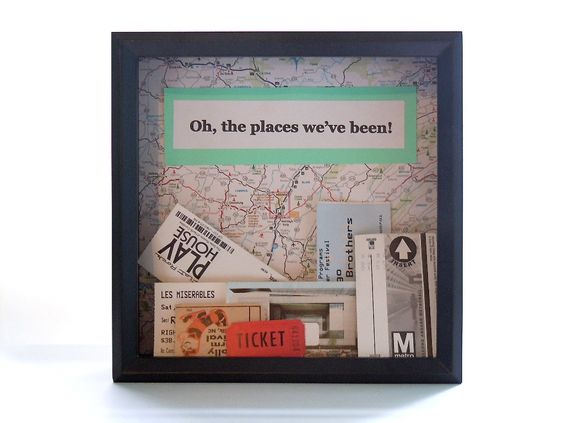
If this isn’t what you are looking for, here are some other ideas that you might like:
Travel:
Savings:

Comic:

Even eyelashes!

I hope you found some inspiration from this blogpost. Show us your creations if you decide to try this DIY out by tagging us on our social media accounts. We can’t wait to see what you’ve got!


You must be logged in to post a comment.