WARNING: Some technical terms in this blog article such as aperture size and shutter speed may not be easy to understand. If you don’t, you can go to our previous blog to find out more.
Those of you more interested in photography might own a DSLR. DSLRs are very powerful cameras with many functions, but if you don’t understand what your DSLR can do, its hefty price might not be worth it. So, what can a normal DSLR do?
Your DSLR camera has a top dial which probably looks something like this(they don’t always look exactly the same):
On it are several main modes that nearly every modern DSLR will have:

1. Full Auto Mode
This mode is the most commonly used one, because it requires no thinking. There is not much to explain here because this mode literally does what its name says it does- every setting is controlled by the camera so all you have to do is point and shoot. However, in this mode you cannot select the point you want to focus at and you are not bringing out the best in your DSLR.
2. Auto Flash Off Mode
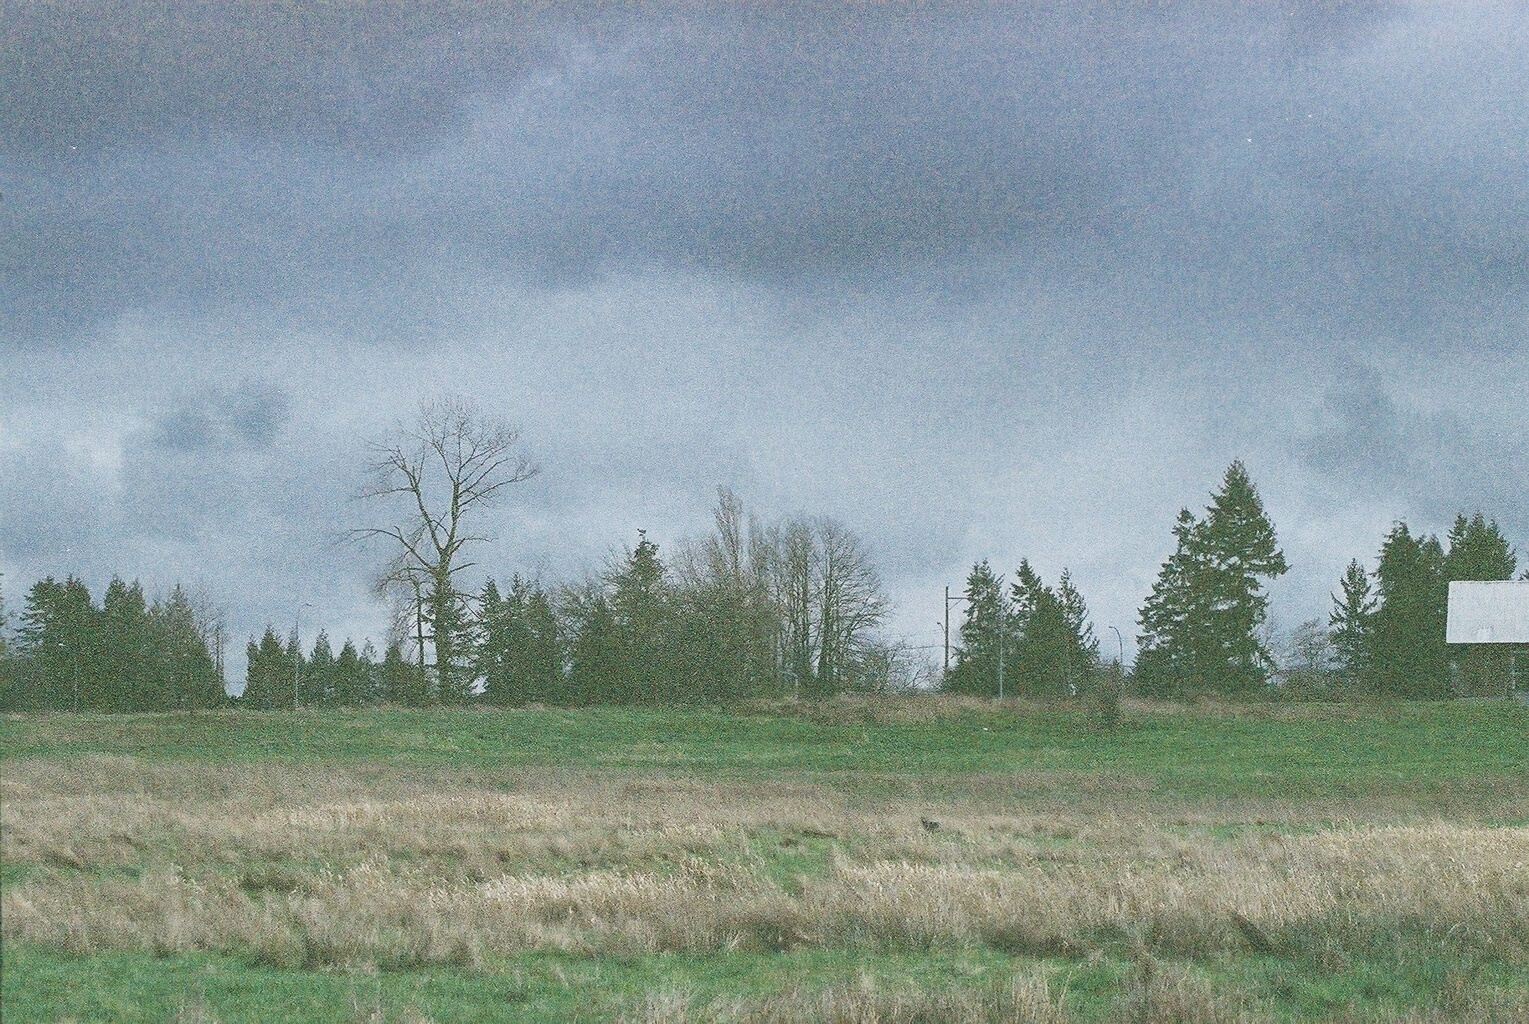
This mode is also very easy to understand. It’s basically full auto, but with flash disabled. You will probably use this in situations similar to when you would use full auto but flash is not allowed. However, with no light coming from flash, photos will appear more grainy, especially in a dark setting, such as in the following photo:
3. Program Mode
This mode is very similar to Full Auto Mode, but they are not the same. In this mode, shutter speed and camera aperture are controlled by the camera but all other settings such as white balance, ISO and metering modes are yours to control(if you do not know what shutter speed and camera aperture are, go to this previous blog for more information).
4. Manual Mode
In this mode, you get full control of your camera. Usually, you will only use this if you have the time to frame the perfect shot and when you are in a controlled environment in which external flash and strobe lighting are used.
5. Aperture Priority Mode
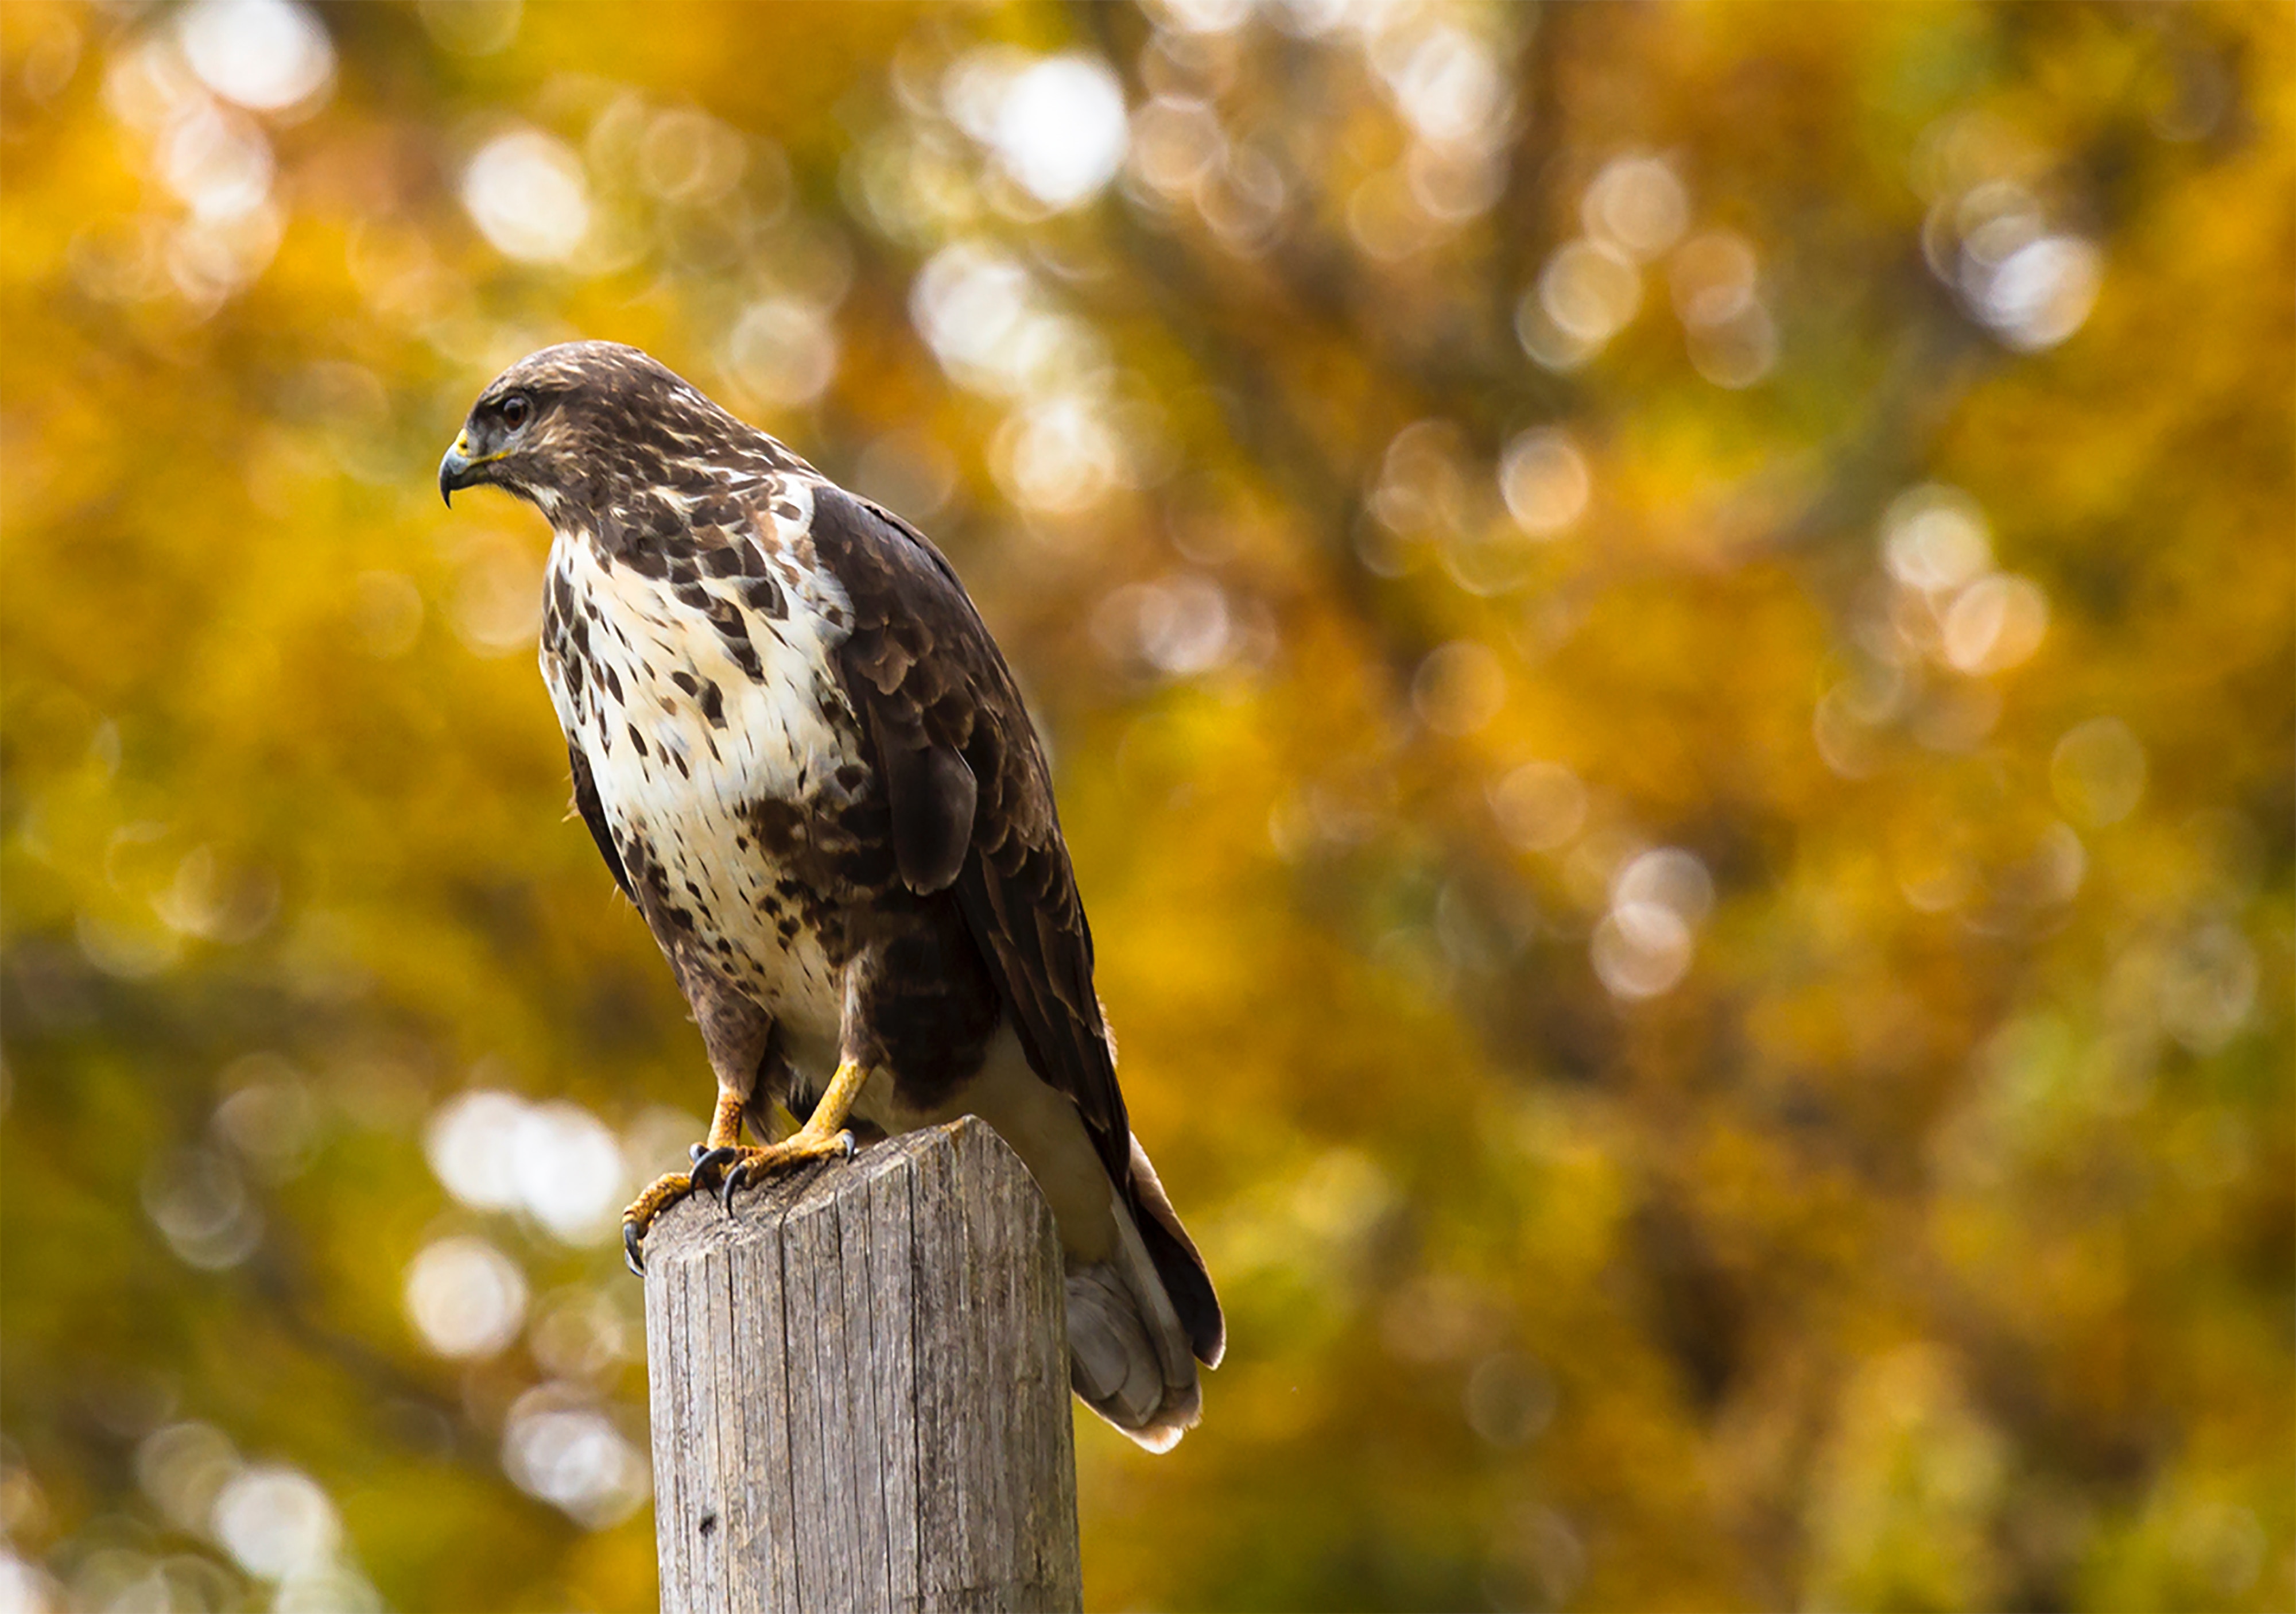
This is the most common mode that is used after graduating from full auto. If you understand aperture, in this mode you get full control over aperture size, and the camera will do the math and set the shutter speed for you. You can vary the aperture so that you can control the depth of field of the photo. A smaller aperture number (eg f4.0 and below) will give a desirable bokeh effect- an effect in which the background is intentionally blurred such as in the following photo:
while a larger aperture number (eg f8.0 and above) will “flatten” the image and ensure that all your subjects are in focus- perfect for group shots and landscapes. Ensure that the computed shutter speed is not too slow- as a guide, anything below 1/60 is too slow for hand holding, so you may want to consider using a tripod.
6. Shutter Priority Mode
Shutter Priority mode works exactly the opposite of aperture priority mode. You choose the shutter speed, and the camera chooses the appropriate aperture size. You will use this when you want to change the shutter speed- for example, when you want to use a slow shutter speed to create a motion blur effect or make unwanted passers-by in your photos disappear. Conversely, you might want to change to a fast shutter speed when trying to capture moving objects.
Other than these 6 main modes, a DSLR will usually also have some other modes that you can use if you are unsure of which mode to choose on your DSLR but you still want to take a good picture. These modes are specific to the situation you are in.
Generally, these modes are:
- Portrait– As the name implies, this mode is designed for flattering portraits
- Landscape- This mode is designed for focusing on both near and distant objects, ideal for landscape photos
- Close-up/Macro- This mode is similar to portrait, but is designed more for close-ups of nature
- Sports- This mode is designed to take sport photos without blur
- Night Portrait- This mode is mostly the same as portrait but it also changes some settings to brighten the photo
Using these modes, the camera settings are each adjusted according to the situation.
By understanding the functions and technical aspects better, you will be able to maximize your camera’s potential, allowing you to take better pictures, and giving you better bang for your buck!
Happy photo taking!
You must be logged in to post a comment.